
Global Vision, Local Craftsmanship, Building Partnerships Beyond Borders
Views: 0 Author: Site Editor Publish Time: 2026-08-12 Origin: Site


Poorly managed storage creates immediate operational friction on any job site or in any active workspace. Wasted retrieval time, damaged inventory, and the persistent safety hazards of overloaded shelving disrupt daily workflows and compromise overall efficiency. When you shove items onto shelves without a clear system, finding what you need becomes a frustrating chore rather than a seamless process. A high-capacity metal storage cabinet provides massive raw volume, but without a systematic internal configuration, it quickly degrades into a cluttered, inaccessible space. The fundamental challenge lies in balancing load capacities, access frequency, and spatial constraints. Throwing items inside and closing the doors only hides the problem temporarily. To fix this, you need a structural framework for cabinet organization that relies on strategic zoning, precise weight distribution, and the utilization of modular shelving to transform a static steel box into a high-efficiency storage system.
Load Distribution is Critical: Anchor the system by placing the heaviest items on the bottom shelf to lower the center of gravity and prevent cabinet tipping or shelf deflection.
Leverage Vertical Modularity: Utilizing a metal storage cabinet with adjustable shelves allows for custom clearances, eliminating dead vertical space between stored items.
Implement Ergonomic Zoning: Store high-frequency items in the "strike zone" (waist to shoulder height) to reduce physical strain and improve retrieval speed.
Prioritize Safety and Assembly: Perfect organization requires a structurally sound foundation; proper assembly, squaring, leveling, and wall-anchoring are non-negotiable prerequisites.
Defining the success criteria for safe storage starts with identifying the per-shelf weight capacity of your specific steel storage cabinet. Manufacturers engineer these units to hold specific loads, and exceeding these limits invites structural failure. Always check the manual before loading heavy components like motors, bulk fasteners, or dense paper archives. You must understand the difference between static load capacity and dynamic load. Static load refers to the weight resting evenly on a shelf. Dynamic load accounts for the impact of dropping heavy items onto the metal surface. A shelf rated for 200 pounds static might buckle if a 50-pound motor is dropped onto it from a few inches above.
The gauge of the steel directly impacts the types of items that can be securely stored without causing long-term metal fatigue. Lower gauge numbers indicate thicker, stronger steel. Heavy-duty applications require thicker steel to prevent shelves from bowing over time under the weight of dense materials. For practical application, refer to the standard gauge ratings below when planning your load distribution.
Steel Gauge | Thickness (Inches) | Typical Application | Estimated Shelf Capacity |
|---|---|---|---|
24 Gauge | 0.0239 | Light office supplies, linens, empty bins | 100 - 150 lbs |
22 Gauge | 0.0299 | Standard tools, pantry goods, files | 150 - 200 lbs |
20 Gauge | 0.0359 | Heavy power tools, bulk liquids, hardware | 200 - 300 lbs |
18 Gauge | 0.0478 | Industrial machinery parts, heavy dies | 400+ lbs |
Assembly precision dictates storage reliability. Structural alignment processes from leading brands emphasize that a cabinet must be built squarely to function properly. Rushing the assembly phase compromises the entire storage system. Verify that the frame is perfectly squared and level before placing any shelves. Even minor misalignments prevent adjustable shelf clips from seating securely in their slots. Use a carpenter's square and a level on the base before tightening the final bolts.
Check the locking bar and cam mechanism tolerances during the initial assembly. You need to ensure the locking system remains operational once the cabinet is under load. If the frame twists slightly when weight is added, the doors may bind, rendering the lock useless. Follow these specific steps to ensure a square build:
Assemble the side panels and back panels loosely, leaving all bolts finger-tight.
Install the top and bottom plates to establish the basic box structure.
Place a carpenter's square in the bottom rear corners to verify a 90-degree angle.
Measure diagonally from the top left corner to the bottom right corner, then top right to bottom left. The measurements must be identical.
Once squared, tighten all bolts starting from the bottom base and working upward.
Install the doors and test the locking mechanism before adding any internal shelves.
Pull all items out of their current storage locations and categorize them by weight, dimensions, and frequency of use. You cannot organize effectively if you do not know exactly what needs to go inside the unit. Apply strict decluttering principles to eliminate obsolete tools, expired chemicals, or redundant files before reloading. Categorize, purge, and relocate items that do not belong. Storing trash or useless items wastes valuable vertical real estate.
Establish a staging area to group similar items together before they enter the cabinet. Group power tools, chemical solvents, or archival documents on the floor or a nearby table. This visual map helps you determine exactly how much shelf space each category requires. Measure the tallest item in each group to plan your shelf heights accurately.
Cabinet stability relies heavily on basic physics. Items like heavy machinery, bulk liquids, or dense paper archives must reside on the lowest level of a multi-layer metal storage cabinet. This lowers the center of gravity, significantly reducing the risk of the unit tipping forward when upper doors are opened. Never place heavy items above waist height if it can be avoided.
Implement mitigation strategies for floor-level moisture or dust ingress when storing sensitive items at the bottom. Use plastic risers or waterproof bins for bottom-shelf storage, especially in garages or basements where concrete floors can transfer moisture upward. If you store liquids, place them inside secondary containment trays to catch leaks before they corrode the steel base.
The ergonomic "strike zone" typically sits 35 to 60 inches from the floor. This area is reserved for items you access daily. Keeping frequently used tools or documents here reduces physical strain, eliminating the need to bend down or reach overhead constantly. Arrange this zone for immediate visual identification. Place taller items in the back and shorter items in the front. This stadium-seating approach ensures nothing gets lost behind larger boxes, speeding up retrieval times during busy workdays.
Identify appropriate items for top-shelf storage to maintain safety and organization. Lightweight consumables, empty bins, and out-of-season gear belong here. These items do not add dangerous top-heavy weight and are only needed occasionally. Address the severe safety risks of placing heavy or awkwardly shaped items above shoulder height. Trying to pull a heavy box from the top shelf can result in dropping the item, causing injury or damaging the goods. Keep the apex strictly for light duty.
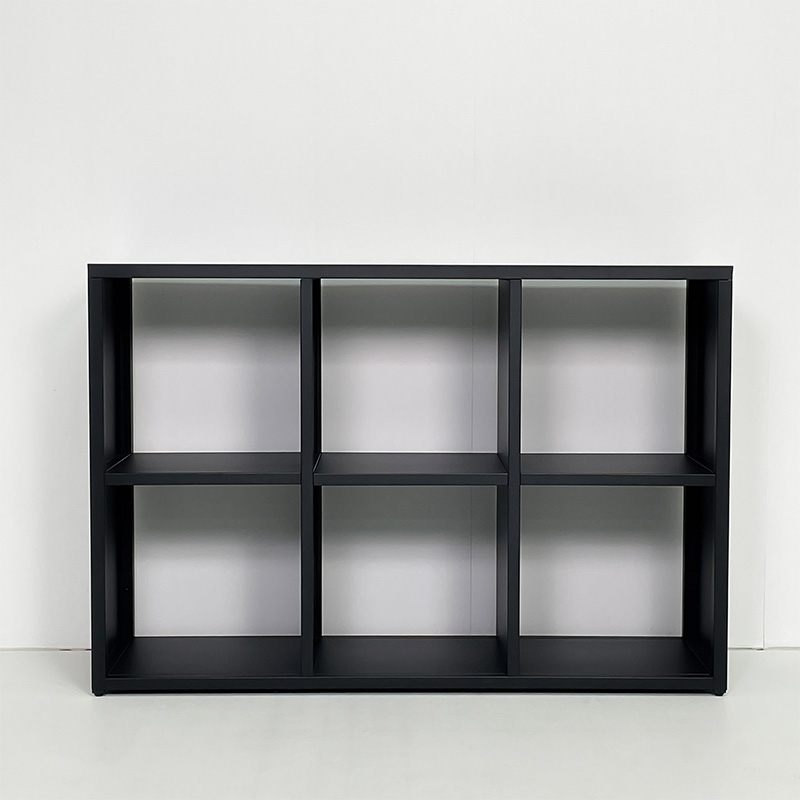
Measure the tallest item in a specific category and set the shelf just one to two inches above it. This tight clearance eliminates wasted vertical space, allowing you to fit more shelves into the same vertical footprint of a metal storage cabinet with adjustable shelves. Understand the mechanical process of adjusting shelf clips or tracks safely without compromising the locking mechanism. Unload the shelf completely before tapping it upward to release the clips. Never attempt to adjust a loaded shelf, as the clips can bend or snap under pressure.
Remove all items from the shelf you intend to move.
Strike the bottom of the shelf near the corners with the heel of your hand to dislodge it from the clips.
Remove the four metal clips and count the slots to ensure they are placed at the exact same height on all four posts.
Insert the clips fully into the slots, ensuring the flat resting surface faces upward.
Lower the shelf onto the clips and press down firmly on all four corners to seat it securely.
Partition wide shelves to prevent items from shifting laterally. This optimizes the natural versatility of adjustable steel shelving, keeping distinct categories separated even on a shared horizontal plane. Use vertical acrylic or metal divider inserts to create custom-width slots for slim or upright items. Dividers are excellent for keeping binders, clipboards, or thin boxes upright, preventing the domino effect when one item is removed.
Adjustable systems offer massive scalability when transitioning a cabinet from one use case to another. A unit holding office supplies today can be reconfigured tomorrow to store IT hardware simply by moving the shelf clips. Evaluate the trade-offs between buying additional aftermarket shelves versus utilizing stackable bins within existing shelf clearances. Stackable bins are often cheaper and provide modularity, while extra shelves offer stronger support for heavy, independent items.
Organizing a steel storage cabinet for tools, hardware, and automotive supplies requires durability. Group hand tools in shallow trays and keep heavy power tools in their original hard cases on the lower middle shelves. Implement creative workshop storage hacks to maximize space. Apply high-strength magnetic strip holders directly to the metal interior doors for small hand tools like screwdrivers and pliers, keeping them instantly accessible.
Segregate reactive chemicals and ensure the safe storage of volatile fluids in accordance with local safety standards. Never store flammable liquids near electrical tools, and use secondary containment trays to catch accidental chemical spills. Keep oil, coolant, and brake fluid on the bottom shelf to prevent catastrophic damage to tools if a bottle leaks.
Set up lateral file boxes and binder organization to secure sensitive documents efficiently. Group archives by year or department, using clear labeling on the outward-facing side of every box. Evaluate the necessity of lockable cabinets for sensitive data. Ensure that internal organization does not obstruct the locking rods or cam mechanisms. A misplaced binder can block the rod from sliding into place, leaving the cabinet unsecured.
The growing trend of using a modern metal storage cabinet for residential decluttering, linen storage, and toy management proves their versatility. They offer a clean, industrial aesthetic while hiding household chaos. Use visual containment strategies to maintain a minimalist exterior look. Matching opaque or wire baskets keep loose toys or linens organized inside, so the interior looks just as neat as the exterior when the doors are opened.
Metal cabinets work exceptionally well for dry goods, heavy small appliances, and bulk kitchen supplies. Their high weight capacity easily handles stand mixers, bulk flour bins, and canned goods. Use non-slip shelf liners to prevent rust, scratching, and cross-contamination from food spills. A rubberized liner stops cans from sliding and protects the painted metal finish from acidic food spills that could cause corrosion.
Safely attach magnetic organizers, lightweight pegboards, or adhesive hooks to the inside of cabinet doors. This reclaims dead space for hanging clipboards, safety glasses, or lightweight cables. Always monitor the weight; exceeding the hinge weight limit will cause the doors to sag and fail to close properly. Keep door-mounted items under ten pounds total to preserve hinge integrity.
Recommend specific aftermarket solutions like clear acrylic bins or magnetic shelf dividers to compartmentalize small, loose items such as screws, cables, and stationery. Clear bins allow for instant visual inventory checks without opening lids. Frame the return on investment of modular inserts versus commissioning a fully custom metal storage cabinet for highly specific inventory. Modular bins usually offer a more cost-effective and flexible solution for changing inventory than permanently welded custom compartments.
Internal organization is irrelevant if the cabinet is improperly assembled. You must follow manufacturer assembly sequences meticulously, squaring the frame and securing the top plate before adding any interior weight. Anchoring the cabinet to a wall stud is a critical safety requirement to prevent tip-overs. This is especially vital in multi-layer configurations where opening heavily loaded top doors shifts the center of gravity dangerously forward. Use heavy-duty toggle bolts or lag screws directly into wooden studs.
Maintain the cabinet interior proactively. Use desiccants for moisture control in humid environments like garages or basements to prevent surface rust on both the cabinet and the stored tools. Perform periodic checks for shelf deflection. If a shelf begins to bow in the middle, immediately remove the weight and redistribute the heavy items to lower, better-supported areas. Wipe down the interior metal surfaces with a light coat of machine oil twice a year to repel ambient moisture.
Inspect all shelf clips quarterly to ensure they remain fully seated.
Check the door hinges for sagging and tighten the mounting screws if necessary.
Lubricate the locking mechanism and handle cam with dry graphite spray to prevent sticking.
Replace any torn or degraded shelf liners immediately to protect the steel finish.
Empty your current cabinet completely and wipe down all interior surfaces to inspect for rust or damage.
Audit your inventory by grouping items by weight and frequency of use, discarding anything obsolete.
Measure your tallest items and adjust your shelf clips to create tight, efficient vertical clearances.
Load the heaviest items on the bottom shelf and place daily-use tools in the ergonomic strike zone.
Anchor the fully loaded cabinet securely to a wall stud using heavy-duty lag screws to prevent tipping.
A: Standard cabinets typically hold 150 to 200 pounds per shelf. Heavy-duty industrial models can support 500 pounds or more. Always check the manufacturer's specifications before loading heavy items to prevent structural failure.
A: Unload the shelf entirely first. Tap it upward gently to release it from the corner clips or slots. Reposition the clips at the desired height, ensure they are level, and seat the shelf firmly back into place.
A: Use reusable desiccant packs or a small dehumidifier inside the cabinet to absorb excess moisture. Additionally, line the shelves with non-slip rubber liners to protect the painted finish from scratches where rust typically begins.
A: Standard cabinets are not designed for volatile chemicals. Flammable liquids require specialized, fire-rated safety cabinets with proper ventilation and double-walled steel construction to meet local fire and safety codes.
A: Doors usually bind because the cabinet frame is no longer square due to uneven weight distribution or an unlevel floor. Check the floor level, redistribute heavy items to the bottom, and adjust the leveling feet if your cabinet has them.


